Organizing Your Mario Kart Collection by Kart Class and Color

This post provides specific strategies for organizing your Mario Kart collection using two primary methods: Kart Class (Light, Medium, Heavy) and Color. Proper organization prevents damage to paintwork, makes inventory management easier, and ensures your display looks professional rather than cluttered. You'll learn how to categorize die-cast models, group items by aesthetic appeal, and maintain a clean, searchable system for your growing collection.
How Should I Organize My Mario Kart Die-Cast Collection?
The best way to organize your collection is to decide first if you are a "collector by type" or a "collector by looks." If you focus on the technical side, you'll group by weight class—Light, Medium, and Heavy—which mirrors the actual game mechanics. If you're an aesthetic collector, you'll group by color or character sets.
Most collectors start with a basic shelf system, but things get complicated once you hit fifty or more pieces. I've found that grouping by weight class is the most logical way to keep track of your inventory. It's how the official Nintendo merchandise often categorizes these items. It also makes it much easier to spot gaps in your collection.
Here is a breakdown of the three main ways to structure your display:
- Class-Based: Grouping by Light, Medium, and Heavy karts. This is great for enthusiasts who want to see the progression of vehicle types.
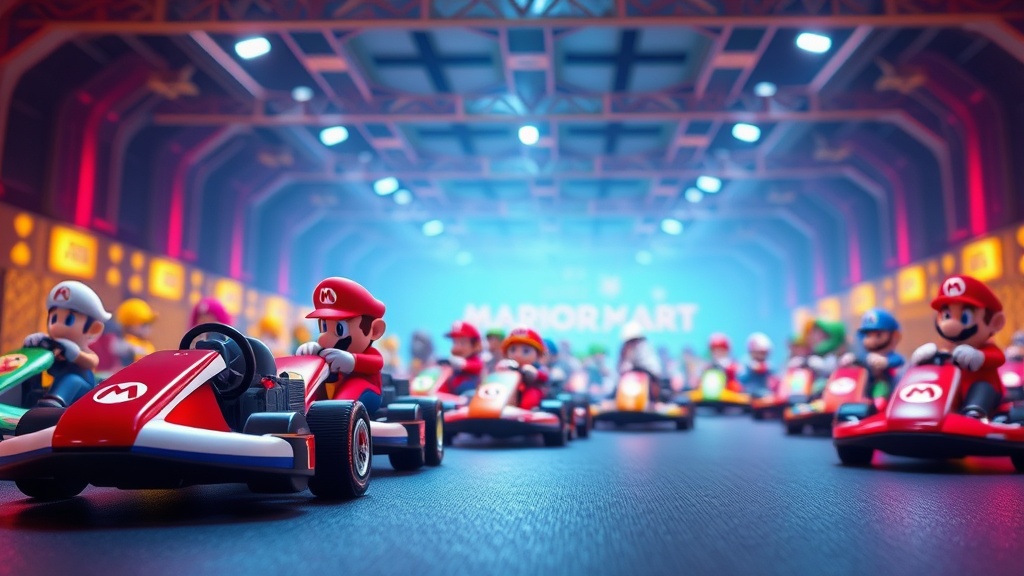
- Character-Based: Grouping by the driver (e.g., all Mario items in one section, all Bowser items in another). This is the most popular method for casual collectors.
- Color-Based: Grouping by the primary color of the kart (e.g., all red karts together). This looks incredible on a shelf but can be tricky if you have many multi-colored items.
If you're just starting out, I highly recommend checking out the ultimate guide to building your Mario Kart die-cast collection. It covers the foundational steps of acquisition before you even get to the organization phase.
Organizing by Kart Class (Light, Medium, Heavy)
Organizing by class helps you understand the physical scale of your collection. Light karts (like the standard Goomba or small-frame karts) are often smaller and more delicate. Medium karts (standard Mario or Peach karts) are the backbone of most collections. Heavy karts (like Bowser's vehicles or large heavy-duty karts) often have more intricate details or larger footprints.
When you organize by class, you're essentially building a "spec sheet" for your display. It's a very logical approach. However, it can look a bit disconnected if the colors are all over the place. A shelf of all "Light" karts might have a red kart, a blue kart, and a green kart all sitting together. It's functional, but it lacks that "wow" factor of a color-coordinated shelf.
The Pro Tip: Use clear acrylic risers within each class. This allows you to stack the "Light" karts at the front and the "Heavy" karts at the back, creating depth. It also ensures you don't accidentally crush a smaller piece under a heavier one.
Does Color-Based Organization Look Better on Display?
Color-based organization creates a visually striking, "rainbow" effect that makes your collection look like a professional retail display. While it might not be as logically structured as the weight-class method, it is undeniably more satisfying to look at.
Think about the way high-end collectors display their items. They don't just throw things on a shelf; they curate a look. If you have a section of all red karts, a section of all blue, and a section of all green, your display becomes a piece of art. It turns a hobby into a gallery.
| Organization Style | Visual Impact | Ease of Finding Items | Best For... |
|---|---|---|---|
| Class-Based | Moderate | High (Logical) | Technical Collectors |
| Color-Based | Very High | Low (Can be confusing) | Display-First Collectors |
| Character-Based | High | High (Intuitive) | Completionists |
The catch? Color-based organization can be a nightmare if you have many "neutral" colored karts. If you have a bunch of silver or black karts, they'll end up in a "junk drawer" section unless you have a plan. I suggest creating a "Neutral/Metal" section for these items. It keeps the rainbow sections looking clean and intentional.
One thing to keep in mind is that color-based organization can actually help you spot missing items. If you see a gap in your "Red" section, you know exactly what's missing. It's a subtle way to track your progress toward a complete set.
How to Manage Your Inventory
As your collection grows, you can't just "eyeball" what you own. You need a system. Whether you use a spreadsheet or a dedicated app, you need to record the class, the color, and the manufacturer. This is vital if you ever decide to sell or trade pieces. If you don't know exactly what you have, you can't accurately track value.
I've seen many collectors lose track of their most valuable pieces because they didn't keep a digital log. If you're serious about this, don't just rely on your memory. A simple Excel sheet or a Google Doc is plenty. Make sure to note if a piece is a standard die-cast or a limited edition. The value of these items can vary wildly based on rarity.
If you're worried about the condition of your pieces while they're on display, you should also look into maintenance. A clean collection is a valuable collection. I actually wrote a piece on keeping your display dust-free, which is a great next step once you've finished organizing.
How Much Does it Cost to Organize a Collection?
The cost of organization depends entirely on whether you use DIY solutions or professional-grade display cases. You can organize a collection for almost zero dollars using existing bookshelf space, or you can spend hundreds on custom-fitted acrylic cases.
For most of us, the "middle ground" is the way to go. You don't need a custom-built museum case. You just need a few good tools. Here is a quick budget breakdown for organizing:
- The Budget Method ($0 - $20): Use existing bookshelves and clear plastic bins from a big-box store. This is perfect for grouping by class or color.
- The Intermediate Method ($30 - $100): Purchase acrylic risers and tiered stands. This adds the depth we talked about earlier and prevents the "cluttered shelf" look.
- The Pro Method ($150+): Custom glass display cases with built-in LED lighting. This is for when your collection becomes the centerpiece of your room.
Don't feel pressured to go straight to the expensive stuff. In fact, I'd advise against it. If you buy an expensive case before you know your "organizational flow," you might end up with a case that doesn't fit your actual collection. Start small. Test the "Color-Based" vs "Class-Based" method on a single shelf before committing to a full-room setup.
It's also worth noting that the way you store your items affects their long-term value. A disorganized pile of karts in a cardboard box is a recipe for scratched paint and broken axles. Always keep your items in a controlled environment. If you're buying high-end pieces, keep them in their original packaging as much as possible—this is a standard rule in the collecting world, as seen on sites like Wikipedia regarding the preservation of collectibles.
If you're worried about the authenticity of the items you're buying to fill these organized slots, you'll want to read my guide on spotting the real deal. There's nothing worse than having a perfectly organized shelf only to realize one of your "limited edition" karts is a cheap knockoff.
Organization is a process, not a one-time event. Your collection will change as you find new pieces. Your display should be able to evolve with you. Whether you choose the logic of the weight class or the beauty of the color spectrum, the goal is the same: making your collection a source of joy rather than a source of stress.
Steps
- 1
Sort by Kart Class
- 2
Group by Color Palettes
- 3
Create Tiered Displays
- 4
Label Your Sections